By HandPrint Magic Team · · Updated
How to Print Your Baby’s Digital Handprint at Home
New to digital handprints? Here is how to turn your print-ready file into a framed keepsake — paper, size, settings, and when a print shop helps.
You have a clean handprint file on your phone or computer — a detailed ink-style print that never needed paint, clay, or an ink pad. The question is what to do next so it becomes something you actually live with: a frame on the dresser, a gift for grandparents, or a quiet piece of nursery art.
This guide walks through paper, size, printer settings, and framing for European homes. If you are still capturing the photo, start with how to photograph your baby's hand.
What a digital handprint actually is
A digital handprint begins with a photo of your baby's open palm. That photo is turned into a high-resolution PNG that looks like a traditional ink impression — ridges, creases, and all — without ever putting pigment on skin.
HandPrint Magic delivers print-ready files you can open on any device and send to a home inkjet or a local print shop. Think of the PNG as the artwork; printing and framing are what make it feel finished.
Choose paper that feels like art
Glossy photo paper can look shiny and “digital.” Matte or lightly textured paper hides small printer banding and reads more like a keepsake you would hang on a wall.
- For home inkjet printers, 200–300 gsm cardstock or matte photo paper works well.
- At a print shop, ask for archival matte or fine-art paper if you want long-term display without yellowing.
- Cream or warm-white stock softens the look; bright white keeps the ink lines crisp and graphic.
Pick a size that fits the room
A4 (210×297 mm) is the easiest starting size in the UK and EU — most home printers handle it, and frames are everywhere. It sits nicely on a desk, shelf, or bedside table.
For a nursery wall viewed from across the room, A3 gives more presence. Common ready-made frames at IKEA, Argos, and local shops include 20×25 cm and 30×40 cm. Leave a white border around the handprint if you want a gallery-style mat without buying a pre-cut mount.
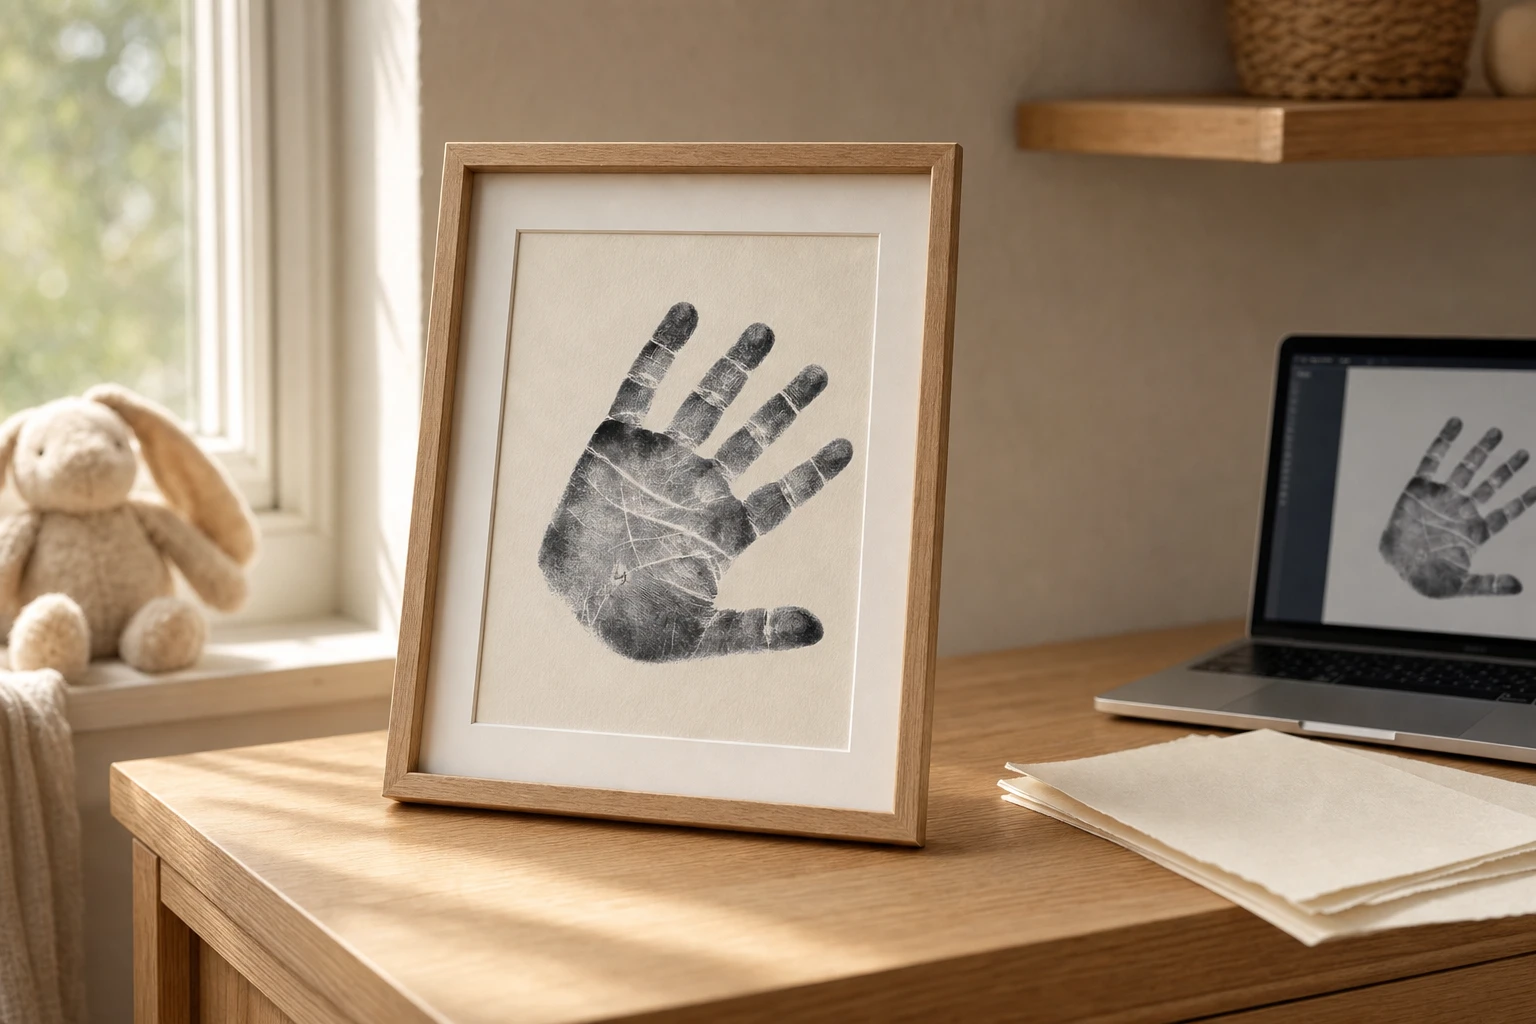
Printer settings in plain language
You do not need to be a print technician. In your printer dialog, choose the highest quality setting (often labelled Best or High), select the paper type that matches what is in the tray (matte photo, cardstock, or plain), and print at 100% scale — do not stretch the image to fill the page if that warps the hand.
DPI is simply how densely ink dots land on the paper. A high-resolution PNG from HandPrint Magic already has enough detail for home and shop prints at typical nursery sizes.
Home printer or print shop?
A decent home inkjet is enough for A4 gifts and desk frames, especially on good matte paper. Choose a print shop when you want larger sizes, heavier fine-art stock, or a perfectly even black that your cartridge printer struggles to match.
Either way, take a moment to look at the file on screen first: open fingers, clear palm lines, and a quiet background so the ink work is the only thing that draws the eye.
Before you press print
- Confirm the file opens sharply when you zoom in on the palm
- Load the correct paper and select that paper type in settings
- Run a plain-paper test, then print the final on your chosen stock
- Frame with a simple border so the handprint stays the focus
Ready to turn a photo into a keepsake?
Upload a clear hand photo and get print-ready digital handprints in minutes.
Start a keepsake · €15 →